Unless you’re strictly a bath person, your shower will eventually develop an unpleasant layer of soap scum. This filmy buildup is a mix of water minerals, soap residue, dirt, and body oils that collect on your shower floor and walls over time. If your shower floor is looking dull and grimy, it’s time to give it a deep clean.
In this comprehensive guide, you’ll learn how to clean a scummy shower floor quickly, safely, and effectively using both natural and commercial methods recommended by cleaning experts. Whether your floor is tile, fiberglass, or stone, these step-by-step instructions will help restore its shine and prevent future buildup.
Why Shower Floors Get Scummy
Shower floors accumulate soap scum because of the combination of minerals in water and ingredients in soap. When hard water (water with high mineral content) reacts with fatty acids in soap, it leaves behind a chalky film. Over time, this film traps dirt, body oils, and skin cells, forming the white, filmy buildup that’s tough to remove.
Regular maintenance and proper cleaning techniques can prevent this buildup from turning into a cleaning nightmare.
Step-by-Step Cleaning of a Scummy Shower Floor
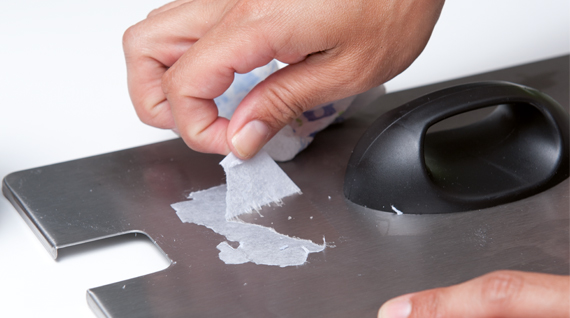
1. Gather Supplies and Prepare the Area
Before you begin cleaning, gather all the necessary supplies. You’ll need:
-
Baking soda
-
White vinegar or hydrogen peroxide
-
Mild dish soap (optional)
-
A scrub brush or sponge
-
Rubber gloves
-
A bucket or spray bottle
-
A clean towel or squeegee
Remove all personal items from your shower area. Clearing the space makes it easier to reach every corner and ensures a smoother cleaning process.
2. Remove Loose Debris and Hair
Start by removing loose debris, hair, or soap chunks from the shower floor. You can use a handheld broom, vacuum, or even a damp paper towel. This step prevents dirt and hair from clogging the drain and ensures the cleaning solution penetrates evenly.
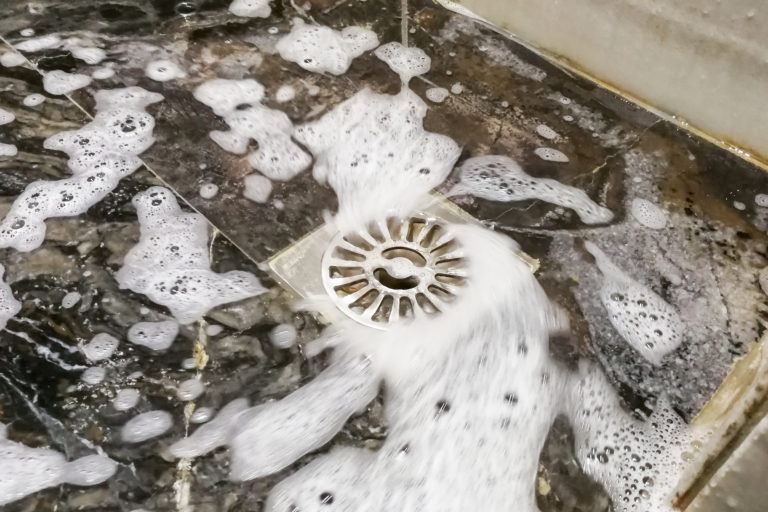
3. Use an Effective Cleaning Solution
To clean your shower floor naturally, combine one cup of baking soda with one cup of white vinegar in a bucket or spray bottle. The fizzing action helps loosen soap scum and grime. Apply the mixture generously to the shower floor and let it sit for 10–15 minutes.
For extra-tough buildup, add a small amount of dish soap for added grease-cutting power. If you prefer commercial cleaners, make sure they’re designed for your shower surface and never mix them together.
Safety Tip: Never mix bleach with ammonia or other cleaners, as the fumes can be toxic in enclosed spaces.
4. Scrub and Agitate the Scum Buildup
After allowing the solution to sit, use a scrub brush or sponge to agitate the soap scum. Scrub in circular motions to lift the film from the surface. Focus on stubborn areas where grime tends to accumulate, such as corners and textured sections.
This step is key to removing layers of dirt and buildup effectively. Keep scrubbing until the floor starts to feel smooth and clean again.
5. Focus on Grout and Tile Joints
If your shower floor is tiled, pay special attention to the grout lines. These narrow spaces trap soap residue and mildew, making them prime spots for discoloration.
Apply more of your cleaning solution to the grout lines and let it sit for a few minutes. Then, use an old toothbrush or a grout brush to scrub between the tiles. This extra step helps brighten the grout and maintain a uniform look across the floor.
6. Rinse and Wipe Down the Shower Floor
Once the scrubbing is done, rinse the entire area thoroughly with clean water. Use a handheld showerhead or pour water from a bucket to remove any leftover residue.
Finally, wipe the floor dry with a towel or use a squeegee to prevent water spots. A dry surface minimizes mineral buildup and leaves your shower floor sparkling clean.
Prevent Future Soap Scum Buildup
To keep your shower looking spotless for longer, adopt a few preventive habits:
-
Use a daily shower spray after each use to prevent film formation.
-
Wipe down the walls and floor after showering to remove excess water.
-
Keep your bathroom well-ventilated to minimize humidity.
-
Consider switching to liquid soap instead of bar soap, since bar soap contributes more to scum formation.
These small habits make cleaning easier and maintain a fresh-looking shower with minimal effort.
Expert Cleaning Hacks for Tough Stains
When regular cleaning isn’t enough, try these advanced hacks for persistent stains:
-
Baking Soda and Hydrogen Peroxide Paste: Mix baking soda with hydrogen peroxide to form a paste. Apply it to the stained areas, let it sit for 15 minutes, then scrub and rinse.
-
Lemon Juice and Salt: For rust or mineral stains, mix lemon juice with salt and apply to the stain. The natural acidity helps break down rust without harsh chemicals.
-
Magic Erasers or Pumice Stones: These can be used carefully on certain surfaces to remove stuck-on scum or mineral deposits.
Experiment with these techniques based on your shower material to find the best method for you.
Maintaining a Clean Shower Floor Long-Term
Consistency is key when it comes to maintaining a spotless shower floor. Regularly clean once a week, use soft sponges to avoid scratching, and always rinse away soap residue. A proactive cleaning routine ensures your shower remains hygienic, odor-free, and visually appealing.
Remember, the best way to clean a scummy shower floor is to prevent the scum from forming in the first place.
Conclusion
Learning how to clean a scummy shower floor doesn’t have to be difficult. With the right cleaning solutions, tools, and regular maintenance, you can easily keep your shower bright, clean, and free of soap residue. Whether you prefer natural cleaning agents like baking soda and vinegar or commercial products, the key is consistency.
Give your shower floor the attention it deserves, and it’ll reward you with a sparkling clean surface every time you step in.